Day one; moodboards. Our group looked through thousands of films and TV shows looking for interesting and moody scenes with fancy lighting; we came across films like Scarface; looking at his office, Prometheus; with its intriguing colourful neon lighting and Interview with the vampire; lit so beautifully with candles giving it a warm and sickly redy brown palette
But when it came to our first presentation be decided to go with the film Spirited away; we were going to jazz it up a bit and use artistic licensing to make it look even better. We chose the Bathing quarters, in this scene we were going to include an onsen which had light rays beaming onto its water; the addition of a circular window with the use of animated textures for the water and particle effects for steam the scene was going to show off all of UE4's cool features. However we were soon shot down by the tutors and told to go a completely different root. So we decided to go back to the drawing board and look for more visually striking shots.
After a couple days we came up with new films such as; I,Frankenstein, Hell Boy, Sin City, Oz the great and powerful, Alice in wonderland, Harry Potter and The man with the iron fist. On our second presentation we laid out all of our cards and let the tutors decide which idea was the most visually appealing. The feedback we got swayed us to go with Sin City, later that night we went through the entire series of screen caps for the film and chose our favourites. I then went through all of them and decided which were my favourites, then analysed them until I had a final 2; this then lead me to list the pros and cons of both scenes leaving me with my final result, Marv's bedroom.
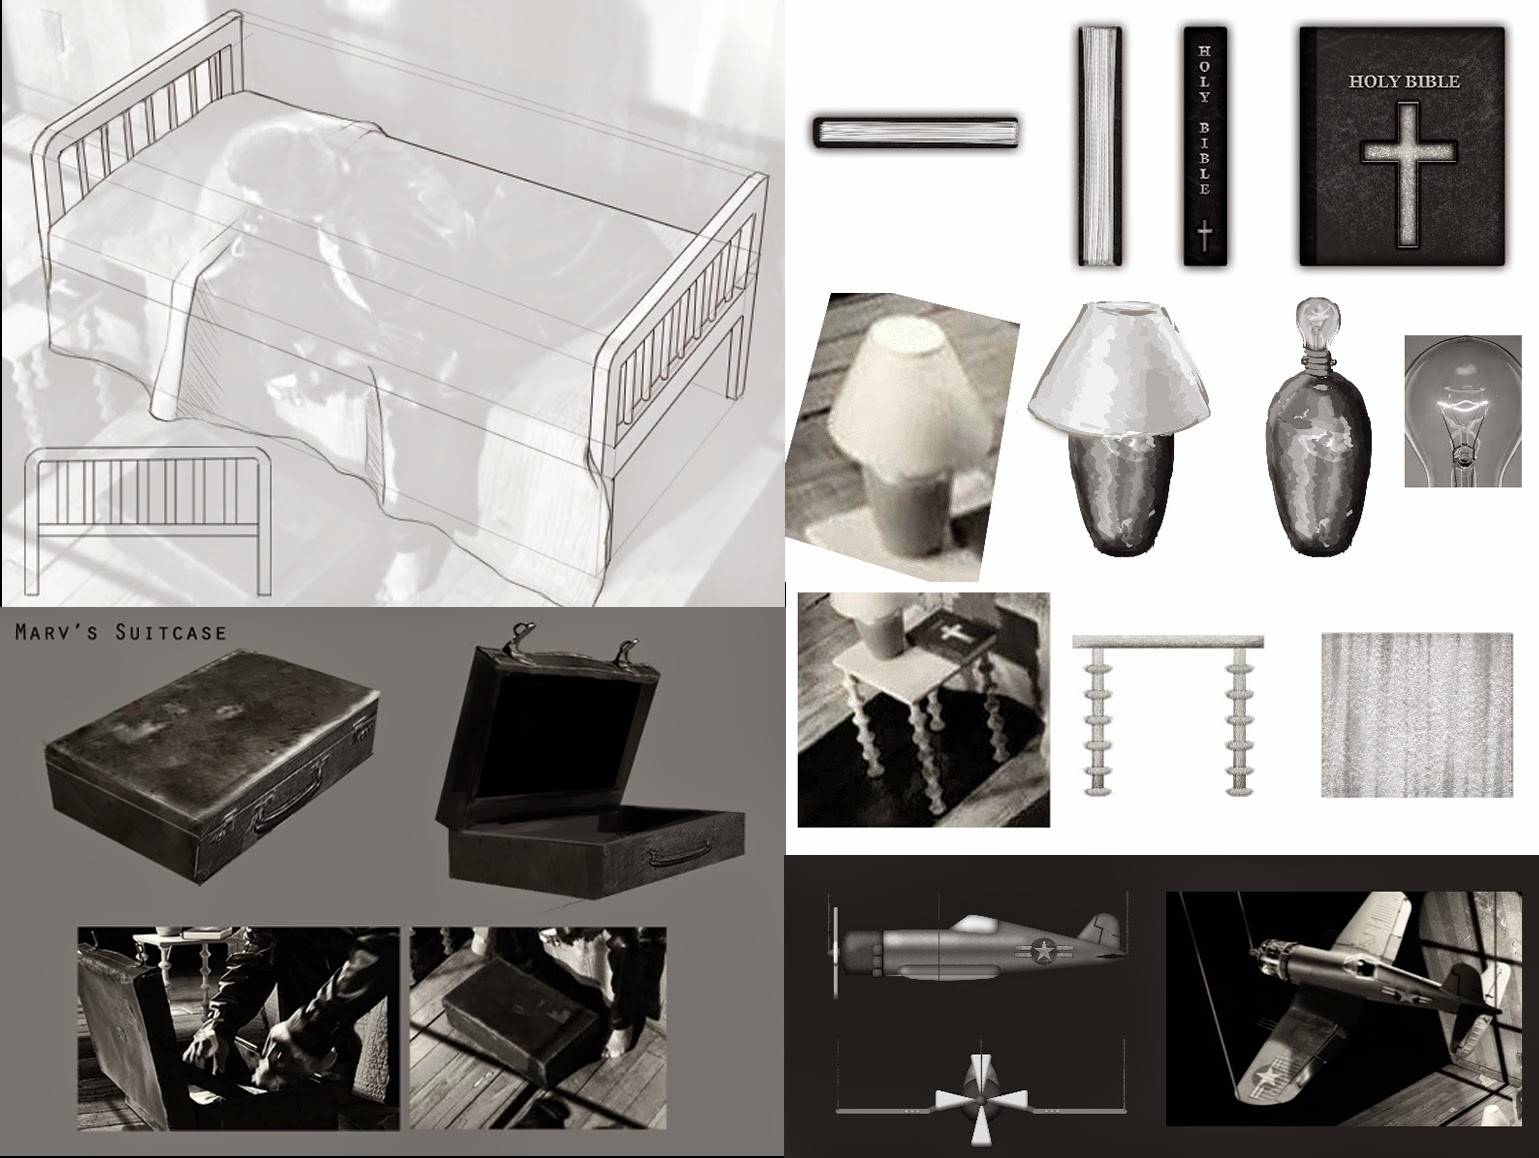
After deciding on the scene we went through and assigned assets and created a workflow chart to make sure everyone was on track and that we would finish on time. We also looked at more shots of the room to look at the objects in more depth. We found a few contingencies and that the room was completely skewed due to most objects being put in in post production.
Next on the list of things to do was concepting I didn't spend a lot of time concepting and only did this for the plane due to it not being a main priority due to time constraints.
After concepting I got straight into modelling using the base block out one of my team mates made. When making this perspective scene we had to fit the scene perfectly therefore a lot of the objects are warped.
With my plane I had to restart it; at first I was using no reference but the film shot, so after restarting I decided to do some research and find some pictures of the same model of plane and worked around that. With my boots I decided to get reference when I started and they worked out well. The suitcase was also altered so that the geometry that wasn't seen was deleted. After making the assets I then had to skew them slightly and mess around with the geometry to get it to line up with the scene. After all of us had finished our models we did some quick lighting tests to see if all the smoothing groups were correct and to see if it looked accurate to the original image.
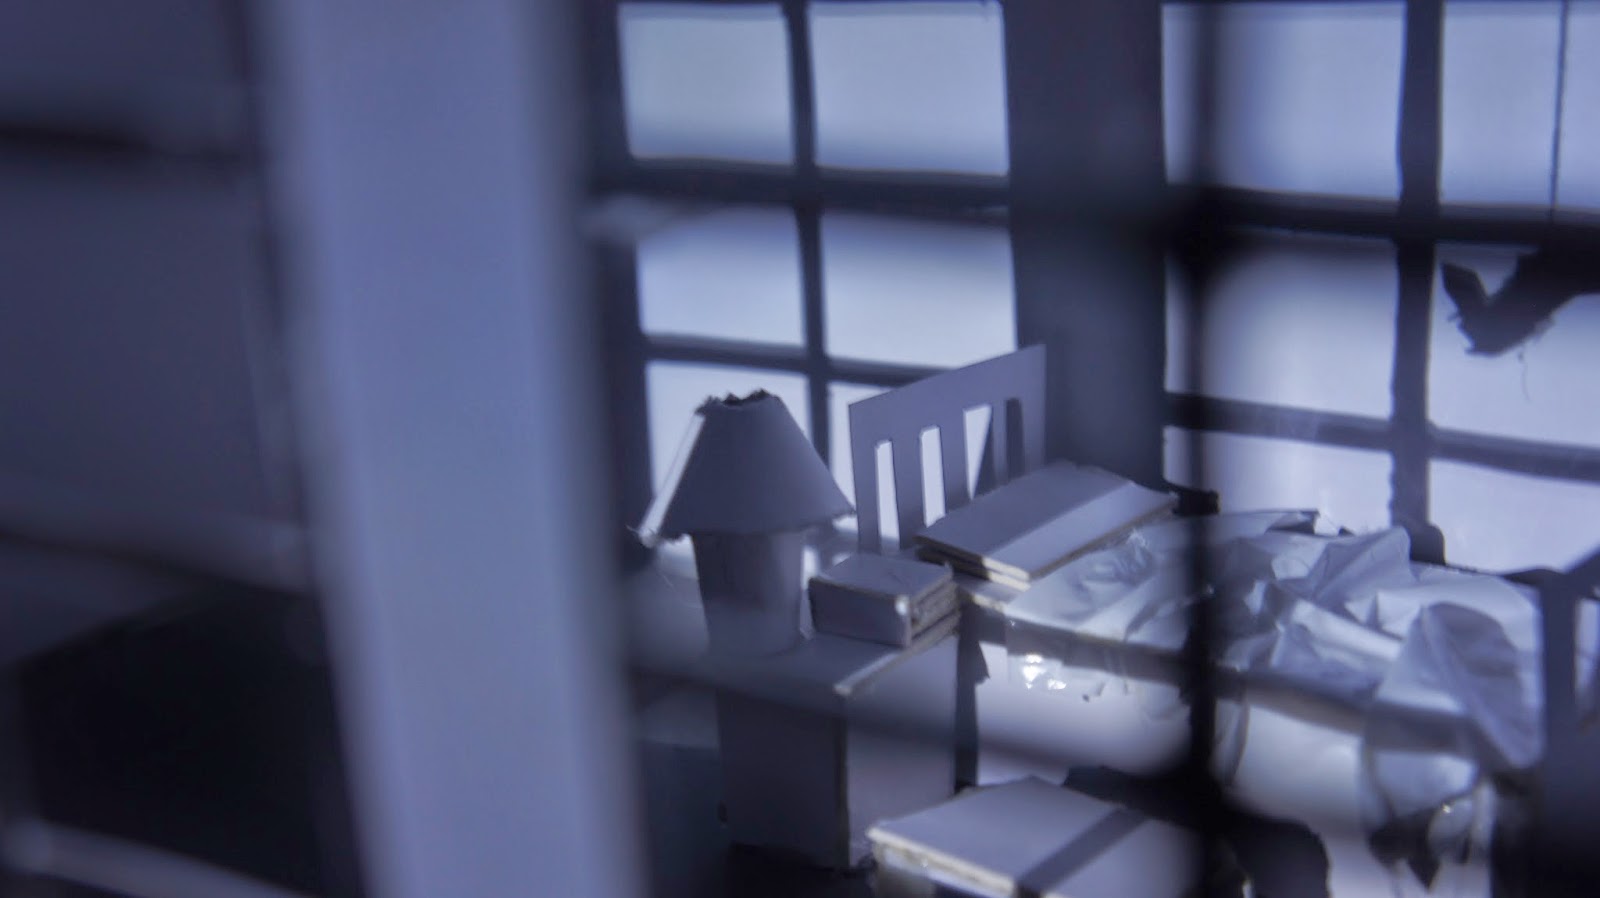
It was around about this time when we made our cardboard model of the room; this helped us thoroughly when looking into how to light the scene in UE4. To create the model we used a couple blueprints made from the block out mesh and printed. We then started to cut and glue card together to create the room and the assets inside it.
We then imported all the assets into UE4 and started to get the lighting to match the original scene. This took an enormous amount of time and caused one of our team members hours of torment. She had to turn off the planes shadow so that it matched the scene and in the end had to fake some of the shadows on the plane due to the lighting in the scene being unrealistic. To try and get the shadows on the plane we had to try and override the light coming from the windows with more lights. The table was easier to fix due to us encasing it in its own light so it wasn't effected by the hash shadow of the window frame.
Here is the finished scene rendered from UE4 with an added film grain and orange tinged filter on the camera:
Our final tri count was 8,414 with 1x1024, 3x512 and 2x256 textures.
Overall all I am very proud of our group to complete something to this standard in 2 weeks without having much knowledge on PBR textures or UE4. I feel that there is a lot to improve on in this room but for the time that we had I believe it is an impressive scene.
If I were to spend more time on this project I would make the walls and floor texture higher resolution due to being pixelated; this also stands out a lot due to everything else being good quality. However I would mainly work on stretch goals that I wasn't able to complete such as; animating the plane so it sways in the wind and dust particle effects to give the room more atmosphere.
I have learnt a lot in this project and I am super excited about the next project which is a designing based project; In which we have to design and model a sentry turret. More to come on that; get pumped because spoilers... two words "The Catling Gun"...


No comments:
Post a Comment